

Christmas Stockings

So, this is my first big craft that I have Ever done on my "own." Our mom, A & C are the big crafty ones, so they have been helping me through this process.
Last year after Christmas we decided that we should try just doing socks for Christmas, or in other terms we wouldn't do big gifts just the stockings. Sadly, come June this year the four of us had started compiling enough trinkets for Christmas to fill the closet. This gave me the idea that I should find a bigger stocking for each of us. I had remembered that Michael's had felt bags for the holidays that had cute designs, so I could get one somewhat personalized to each of us. But I didn't do that :P Hobby Lobby had large stockings that were about 3' long and 1' wide, and I decided I could put our names on them and they would be our socks this Christmas.
To personalize, I decided that I would do the first letter of all of our names to put at the top of the stockings (I did not have the patience to try and do their entire name). For a shortcut i used letter die cuts glued onto the top sections, and then "embroidered" around the letter to keep the form. There were only a couple other things that I used, so here is the compiled list:
- Stocking or fabric being used
- Colored embroidery floss
- Sewing needle and threader
- Aleene's tacky glue (any brand should work, this is what we always use)
- Letter die cuts
- Sheet of copy paper, cut in half
- Scissors

First, I started out by gluing the die cut letter onto the stocking. I placed half a sheet of paper in the top of the stocking so that the glue didn't soak through and glue the opening together. I then used the other half of the paper to press down the die cut to adhere it on the fabrics. I didn't want to catch the ends of the letters or the feet , so the paper helped avoid that.

I also found that it would be easier to cut the connecting parts of the letters before gluing them down. It is easier to sew in between the breaks when they've been cut, like the connections between the bulges on the 'B' and the stem, than to leave them in one piece.

Once the letters are glued on, let them dry about 15-20 minutes before trying to sew them so that the glue can dry.
Next, I started to sew around the letters. I separated the floss into sections of 3 strands. So, cutting one section of floss you can separate the strands from each other to get two sets of 3 strands. If you keep a hand near where the strands are separating and just slightly pull apart they come apart a little easier. I started a little way away from the end of the letter when sewing and just worked my way around. Once I got around the entire letter, I would go back and fix the ends.


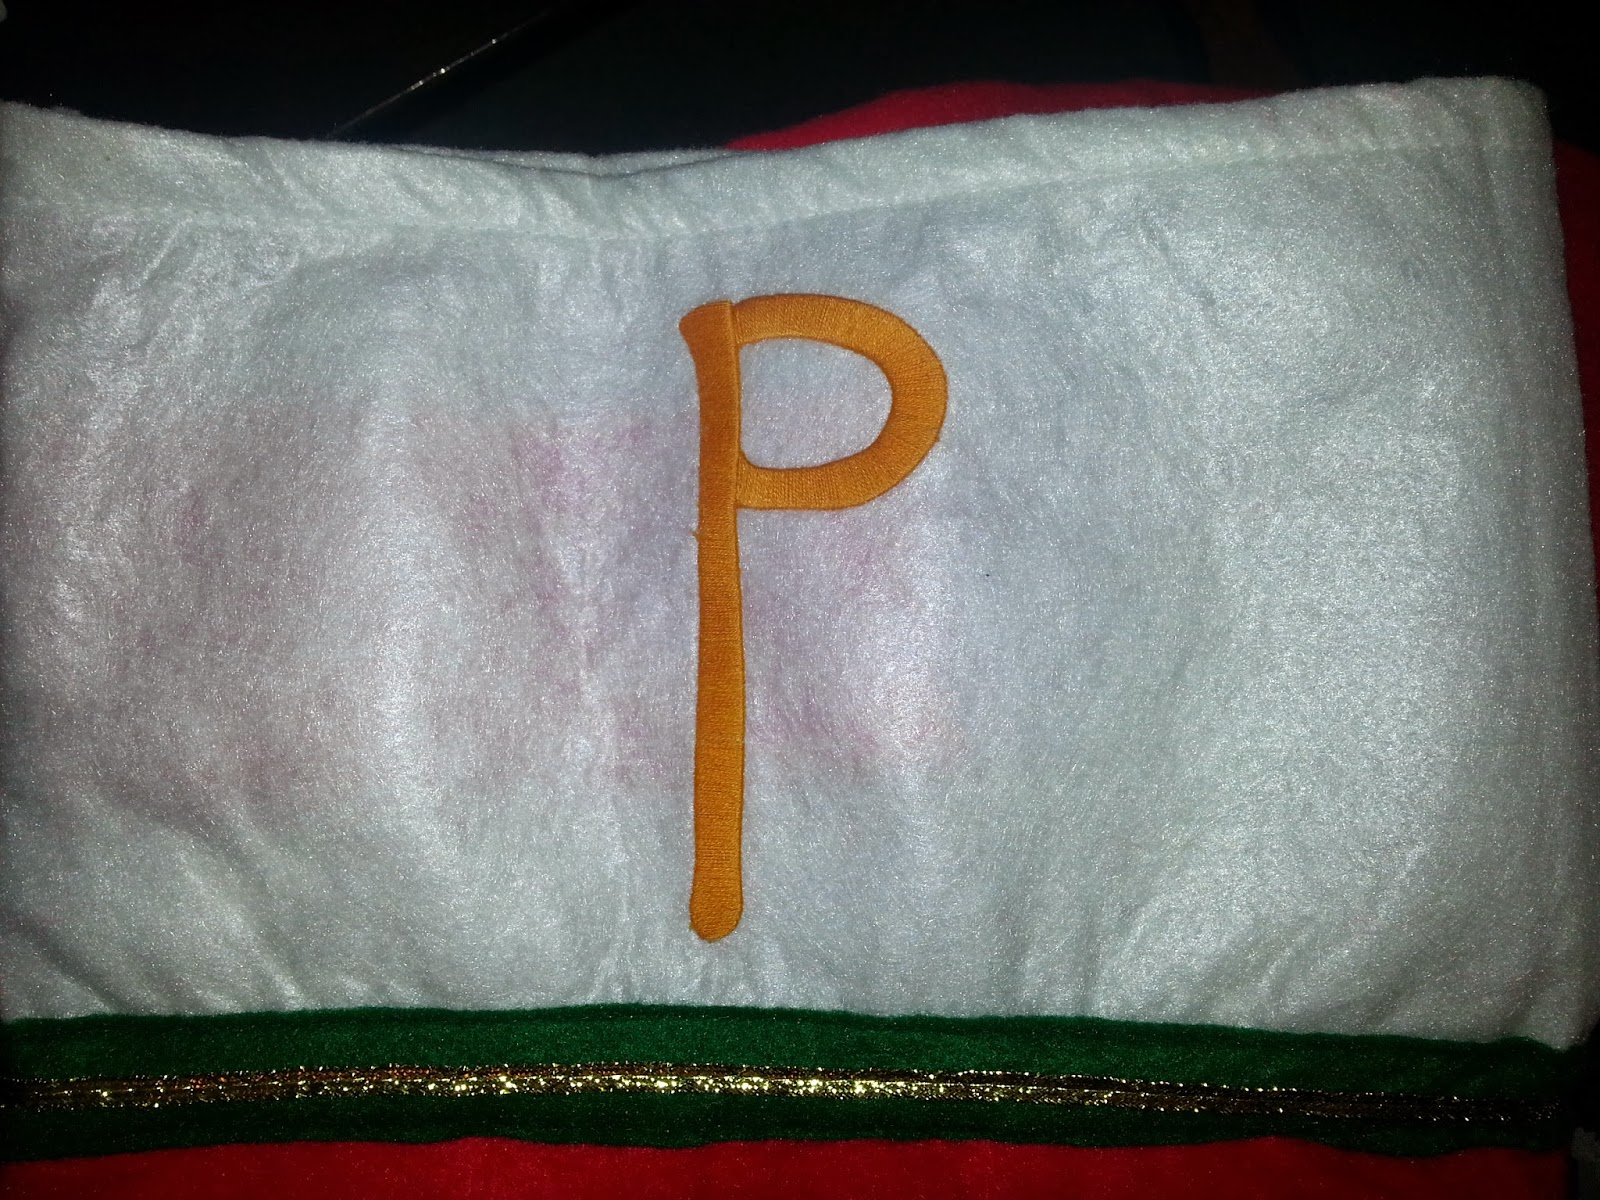


I found that if you send the needle and thread through at an angle around the edges of the die cuts then the letter looks cleaner with tighter edges (the 'C' turned out the best with this, so use it to reference what I am saying). You will also see on the 'B' that at the joining section of the bulges that there is a 'V' section where the floss directions are different. It was easier to go up and down over the 'V' section and then just follow the curve from the top bulge to the middle and the bottom bulge to the middle.

Voilà! Christmas Stockings! I hope that this has inspired many other ideas!
♡ B

